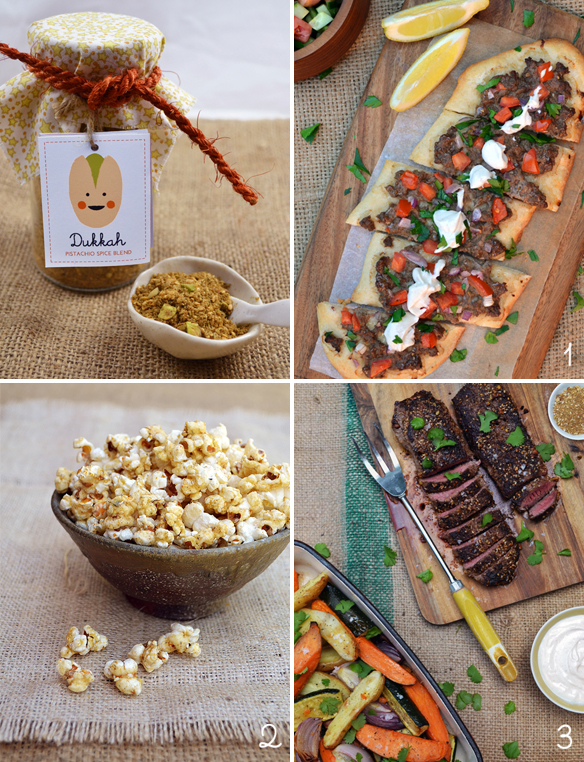
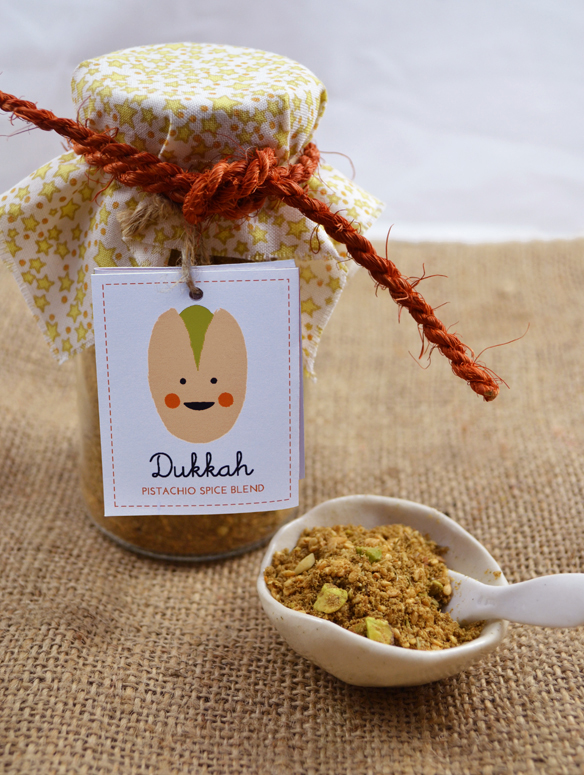
[Recipe 1] PISTACHIO and ALMOND DUKKAH transforms into
[Recipe 2] SPICED LAMB PIZZA (lahm bi ajine)
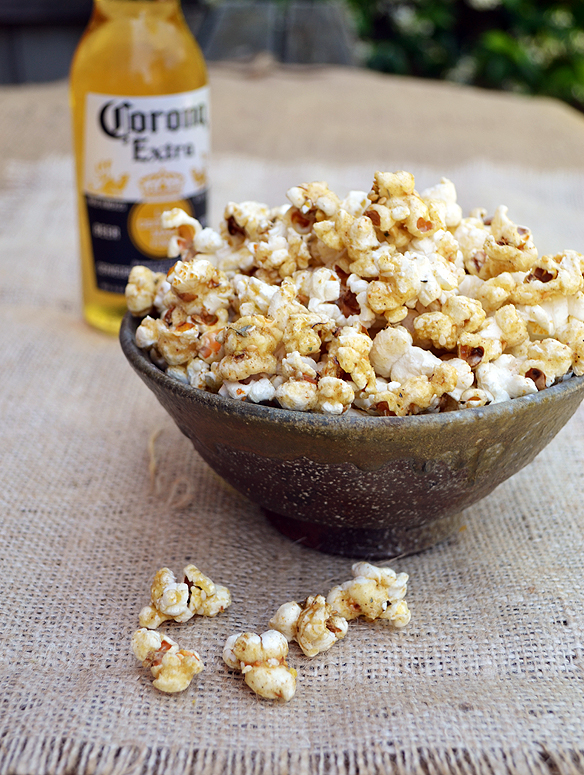
[Recipe 3] SPICED HONEY DUKKAH POPCORN
[Recipe 4] CHAR-GRILLED DUKKAH LAMB with TRAY-ROASTED VEGGIES
It seriously feels like we packed away the Christmas tree two months ago. I cannot BELIEVE we’re half-way through November. Yikes!
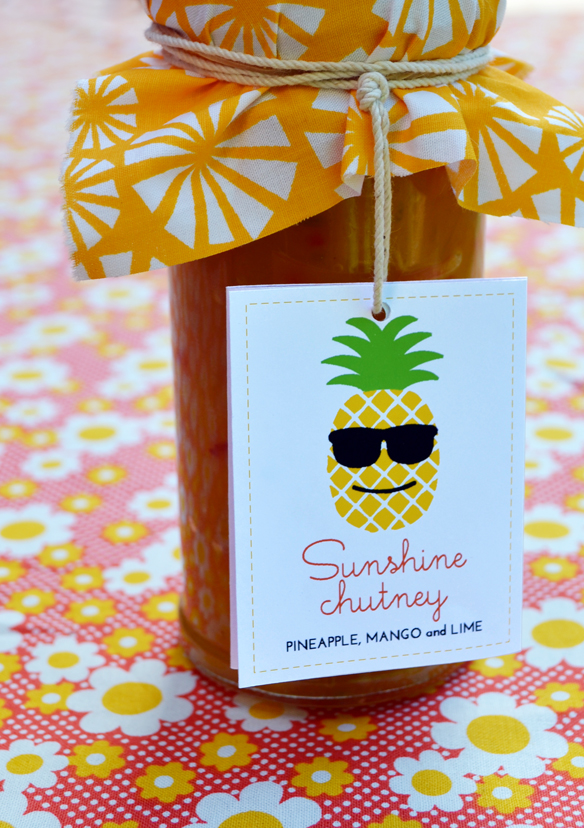
Every Christmas I make a massive batch of something sweet or spicy to pop into jars for teachers, family and friends. Za’atar was popular, and dukkah is equally tasty and a cinch to whip up and package; especially if you employ child labour in your home, as we do.
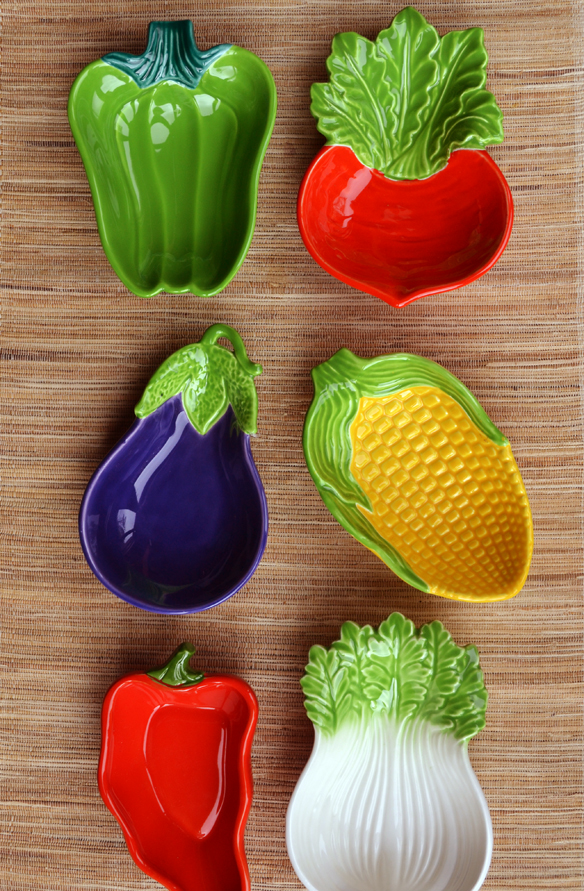
I buy my fabric pieces at Amitié – they have a huge basket of off-cuts, the perfect size for topping jars. The raw tangerine string is from Araliya. It’s handmade from coconut fibre, and it was a birthday pressie (thanks Chris)!
For a more substantial gift, a small spice bowl could be added – Ingrid Tufts makes beautiful little hand-thrown porcelain condiment bowls.
My dukkah is adapted from Greg Malouf’s recipe in one of my most thumbed-through, dog-eared cookbooks, Arabesque. I made a couple of adjustments, replacing the hazelnuts with toasted pistachios and almonds (I’m far too lazy to skin a bulk load of hazelnuts). I also used less salt, adding a touch of thyme. Dried thyme is great for adding a salt-like kick to spice blends.
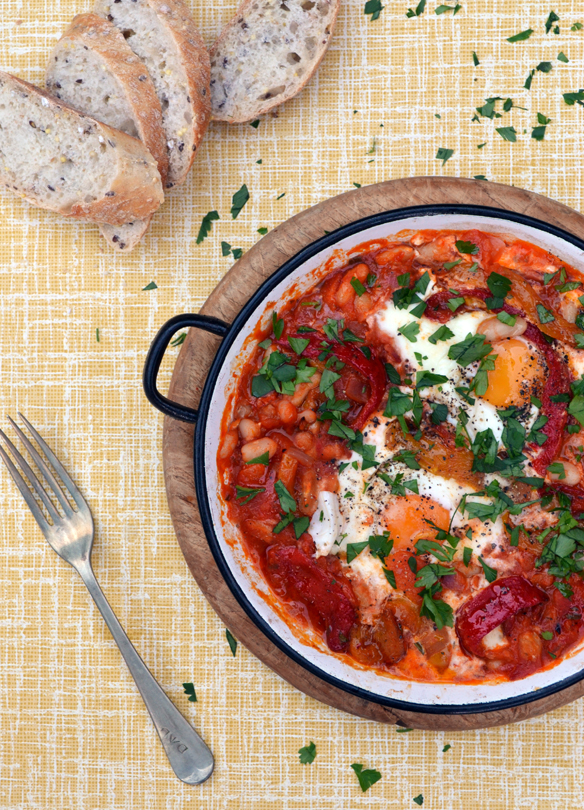
Dukkah is a flavour explosion! It can be sprinkled with gay abandon on just about anything; including poached eggs, salad or veggies (eg. my roasted cauliflower and chestnuts with dukkah).
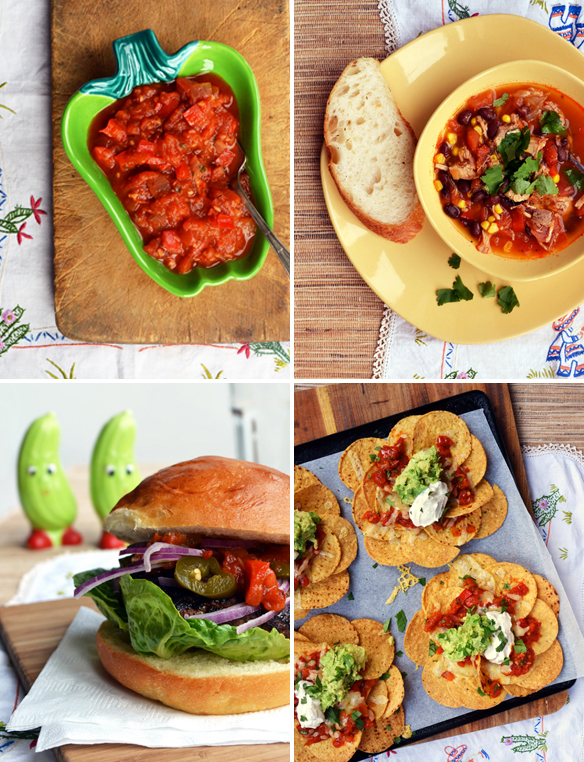
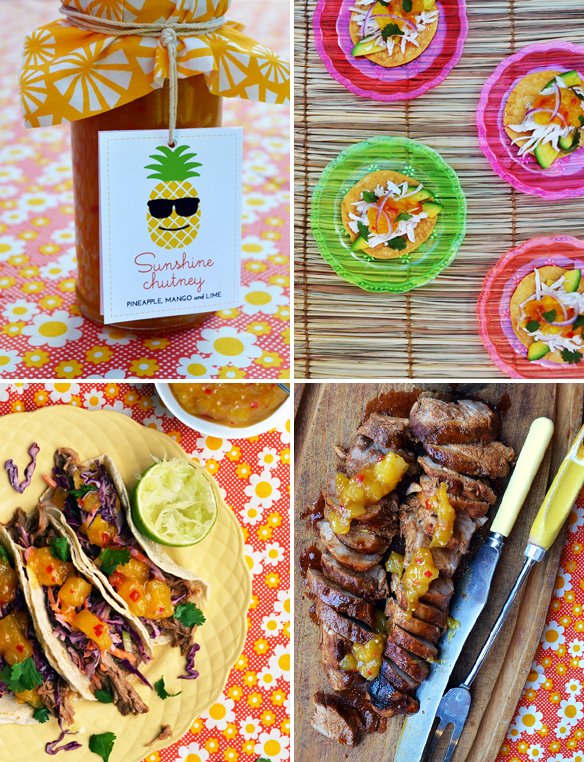
Here are three more great ways to use dukkah. You’ll find the recipes below.
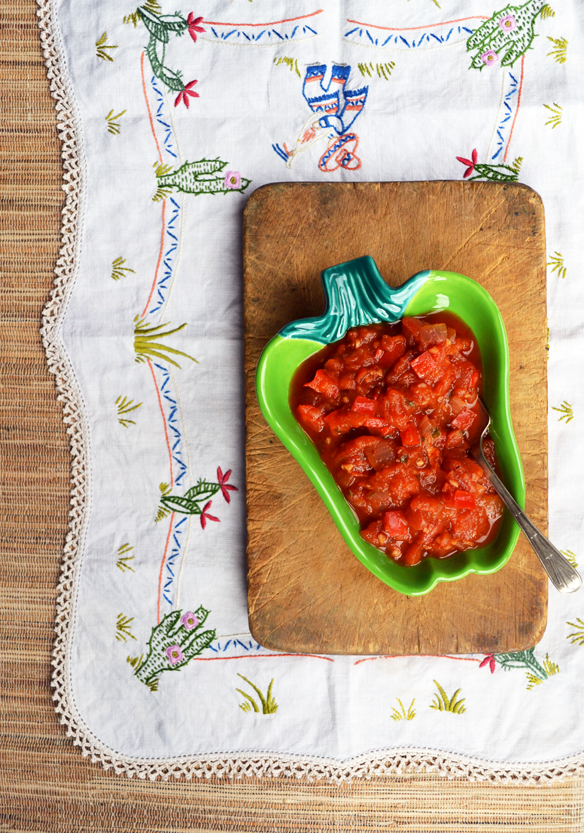
Spiced lamb pizza is a traditional Lebanese treat which usually contains allspice and/or cumin. In my humble opinion dukkah tastes even better.
Spiced honey dukkah popcorn is salty, sweet, spicy and incredibly moreish. We had fun experimenting and taste-testing this recipe – four enormous bowls, now gone!
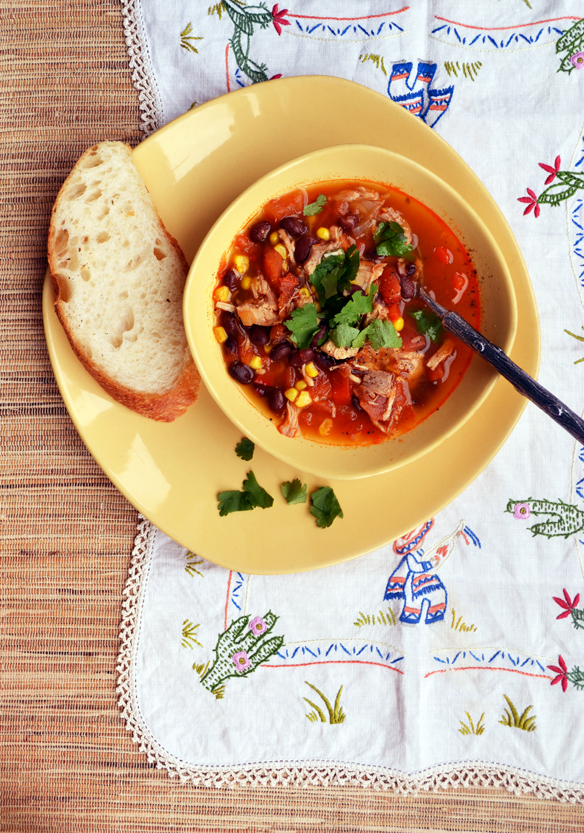
Char-grilled dukkah lamb is a family favourite, and quick to prepare. Served with tahini sauce and tray-roasted veggies, it makes a super-tasty, healthy meal. Leftover roasted veggies and lamb, if any, can be tossed through a simple rocket, freekeh or couscous salad, and dressed with tahini sauce. We often cook up double the lamb and veggies for this purpose. Enjoy!


 [Recipe 1] Pistachio and almond dukkah
Ingredients (bulk quantity – makes 23 cups, to fill 25–27 jars)
4½ cups (450g) ground coriander
4 cups (450g) ground cumin
½ cup (40g) dried thyme leaves
1 tablespoon fine sea salt
3 tablespoons (25g) fine white pepper
8 cups (1 kilo) sesame seeds, toasted
4 cups (575g) almonds, toasted (or store-bought unsalted dry roasted)
2½ cups (325g) pistachio kernels, toasted
Place coriander, cumin, thyme, salt, pepper and half the toasted sesame seeds into a large bowl and mix well. Blend almonds, pistachios and the remaining toasted sesame seeds in batches in a food processor, transferring to the bowl of dried spices as you go. Don’t grind them too fine or you’ll end up with a paste! Nuts should be chunky, and just broken.
Divide dukkah into sterilised jars, top the lids with a small square of fabric and seal with string. You can fashion your own funnel from cardboard, to make pouring into the jars easier. Reserve some dukkah for yourself, for the three recipes below!
Very loosely based on Greg Malouf’s recipe in Arabesque.
- You can toast your own sesame seeds or buy them pre-roasted from Asian and Middle Eastern food stores.
- Spices can be bought in bulk from Asian and Middle Eastern food stores. Mine were purchased, as always, from Oasis; where you can also find pre-shelled pistachios!
- Most dukkah recipes call for whole coriander and cumin seeds, crushed in a spice or coffee grinder, or manually with a mortar and pestle. When making dukkah in bulk, pre-ground spices are recommended, as the crushing would take weeks! Incidentally, food processors aren’t great for seed-crushing as the seeds slip past the blades.
- Dukkah should be stored in a cool dry place, and will keep for 3–6 months.
[Recipe 2] Spiced lamb pizza (lahm bi ajine)
Ingredients (serves 4):
1 quantity wholemeal (wholewheat) pizza dough
2 tablespoons olive oil for brushing
400g (14 oz) lamb backstraps, leg or fillets
♦ 3 teaspoons Pistachio and almond dukkah (see recipe above)
2 teaspoons pomegranate molasses
1 small red (purple/Spanish) onion, finely diced
2 firm Roma or vine-ripened tomatoes, seeds and liquid scooped out, diced
To serve:
Tahini sauce
Fresh chopped flat-leaf parsley
Lemon wedges (these are a must)!
Tomato and cucumber salad
Preheat oven to 250°C (480ºF).
Place two pizza trays into the hot oven to warm up, for at least 10 minutes. This is an important step for crispy-based pizzas.
Divide wholemeal pizza dough into four. Sprinkle flour on work surface. Roll out each piece of dough into a log shape with your hands. With a rolling pin, roll each log into a large flat oval, approx. 12 x 30cm (5 x 12″). Lift the four bases onto two sheets of baking paper.
Place the chopped lamb, Pistachio and almond dukkah and pomegranate molasses into a food processor and process until minced.
Brush each pizza base lightly with olive oil.
Arrange the prepared lamb, onion and tomato over each base, leaving a 2cm (.8″) border.
Carefully slide pizzas and baking paper onto pre-heated pizza trays and bake for 10–12 minutes. Cook separately if they don’t fit side by side.
Remove from oven. Scatter with fresh parsley and serve with lemon wedges for squeezing; and Tomato and cucumber salad.
Recipe very loosely adapted from this one by Greg Malouf.
[Recipe 3] Spiced honey dukkah popcorn
Ingredients (makes 12 cups):
40g (1.5 oz) organic coconut oil
½ cup popcorn kernels
60 grams (2 oz/½ stick) butter
2 tablespoons honey
♦ 2 tablespoons Pistachio and almond dukkah (see recipe above)
½ teaspoon sea salt
Melt the coconut oil in your largest saucepan, over medium-high heat.
Add the popcorn kernels and cover.
When the kernels begin to pop, gently shake the pan now and again to prevent burning. Once the popping slows down to 2 or 3 seconds between each pop, remove the pan from the heat and tip popcorn into a large bowl.
Melt the butter and honey in a small saucepan. Add Pistachio and almond dukkah and salt and stir to combine.
Pour over the popcorn and stir to coat evenly. Tip into a large bowl and serve.

[Recipe 4] Char-grilled dukkah lamb with tray-roasted veggies
Ingredients (serves 4):
2 x large lamb backstraps (approx. 500g/1.1 lb total)
¼ cup olive oil
♦ ⅓ cup Pistachio and almond dukkah (see recipe above), plus extra to serve
Vegetables for roasting:
650g (1.4 lb) kipfler potatoes, unpeeled, scrubbed, halved
3 smallish sweet potatoes (approx. 500g/1.1 lb), unpeeled, scrubbed, cut into wedges
2 red (purple/Spanish) onions, peeled, quartered
2 medium zucchini, each halved lengthwise and cut into 4
⅓ cup olive oil
Sea salt flakes and freshly-cracked black pepper
To serve:
Tahini sauce
Fresh chopped coriander
Place lamb pieces in a non-metallic dish or bowl.
♦ Combine olive oil and Pistachio and almond dukkah and spread over the lamb pieces. Cover and allow to marinate for at least one hour or overnight.
Preheat oven to 220°C (425°F).
Place halved potatoes in a saucepan and cover with water. Bring to the boil, and simmer for 5 minutes, until just tender. Drain and pat dry with a clean tea towel.
Place par-boiled potatoes, sweet potato, onions, zucchini and oil into a large bowl. Toss to coat. Place into a large (preferably cast iron) baking pan, scatter with salt and pepper and roast for 45–50 minutes, turning every 10–15 minutes, until golden brown. Remove from oven and set aside. Veggies can be served warm or at room temperature.
When you’re ready to serve, cook the lamb. Preheat a lightly-oiled barbecue or chargrill plate to medium–high heat. Cook lamb for 4 minutes each side, or until cooked to your liking. We like ours rare-ish. Set aside to rest for 5 minutes.
Slice lamb thickly across the grain. To serve, pile roasted veggies onto four plates. Top with sliced lamb, drizzle with tahini sauce and scatter with coriander and extra dukkah.
- Char-grilled dukkah lamb is great for feeding a large crowd. To serve ten people, you’ll need 1.5 kilo (3.3 lb) lamb backstraps, ¾ cup olive oil and 1 cup Pistachio and almond dukkah. Cook the lamb on the BBQ, and serve with double quantity tahini sauce.
- Veggies are a guide only. Feel free to toss unpeeled pumpkin wedges, carrot slices and/or halved firm Roma tomatoes into the roasting pan.
- Char-grilled dukkah lamb is also delicious served with Farro salad.
- Kid tip: Kids will love the char-grilled lamb in a wrap with tahini sauce (or smashed avocado), grated carrot and lettuce. Pluck some roast potato and sweet potato wedges from the roasting pan and call them ‘chips’.


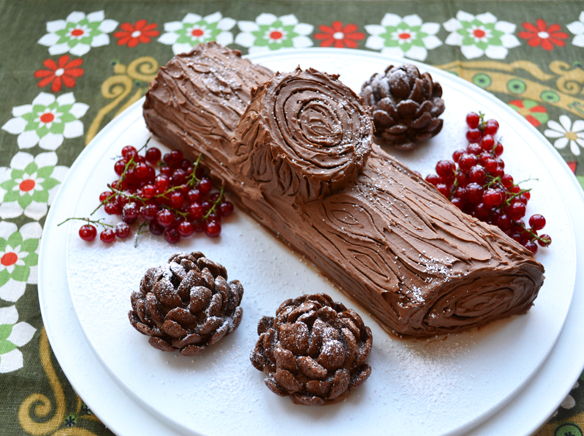


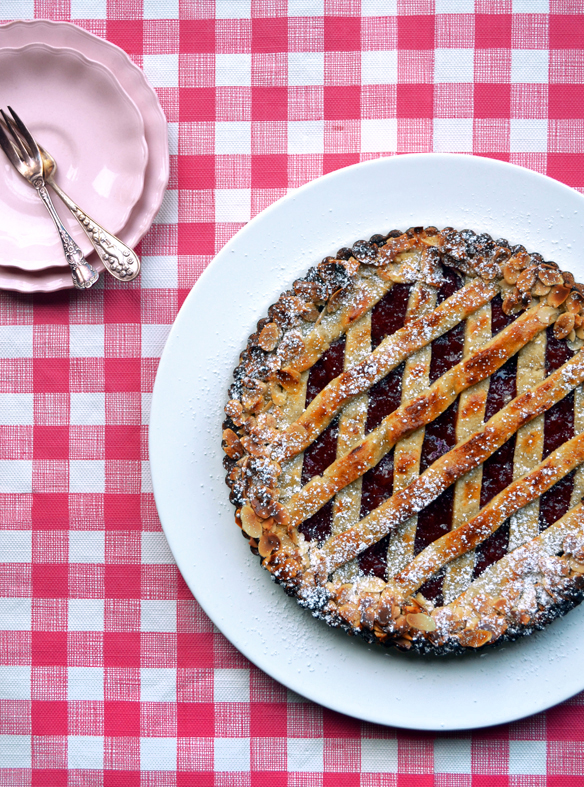
 COOKING: my first ever Yule Log, using